Tuesday, March 3, 2015

DIY Accessories: Zipper Bracelet + Wire Rings

Heeeeeeeeeellooo!

I'm not in the mood for writing, but at the same time I feel like doing a new entry... So I guess I'll keep writing to a minimum and I'll fill that with photos...


#1 I uploaded a new video last Thursday. It's about DIY floral accessories which are perfect for spring. Of course they're extremely inexpensive - otherwise, I could not afford them, dah? 
There are three: two rings made out of wire, beads and buttons and a bracelet made out of a zipper with some beads. They turned out really pretty, if you'd ask me... If I saw them on stores, I think I'd like to buy them. Without further due, here you have the video: 


#2 I've changed the design of my blog entirely to celebrate 600 subbies. I created my background completely, and by that I mean that I draw the roses with Photoshop. And yes, I'm so proud of myself for that, because me + drawing = disaster.
I'm so happy with the new design, everything is mint/pink/floral themed and it looks personal and cute!


#3 Last Saturday I had a little 'photoshoot' with the prettiest and sexiest photographer of the world aka my boyfriend. He took a couple of shoots to change my YouTube channel art. They go perfectly with my new design's theme, so I guess I'll use them for some place I'm still figuring out on my blog too. Anyway, here are some of my favorite pics: 


I know, the last one looks a little bit creepy, but I think the idea was cool. Here you can see how my Animators' Collection keep on growing :P I know I talk about this in all of my blogs entries, but they make me really happy and I just can't help it, I'm sorry, I'm weird like that... Oh, and here you have the new YT channel banner: 
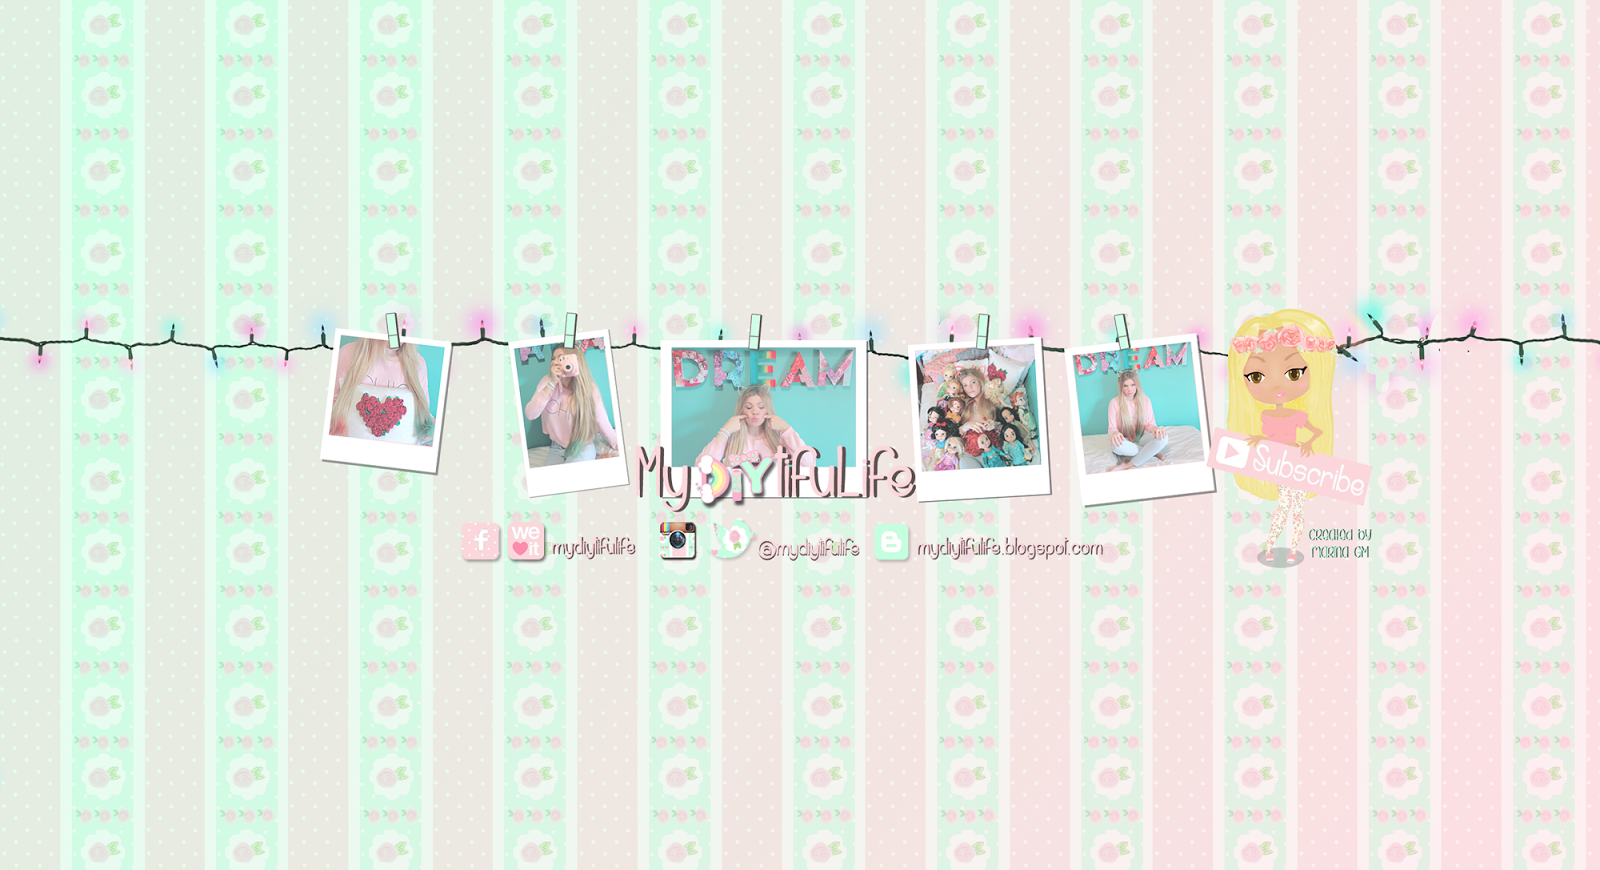
Oh, and btw, if anyone knows how to solve the YT bug that keeps on saying "the image is too big, reduce it to less than 2 MB and reupload it" or something like that even when the image is less than 2 MB, I'll be forever grateful if you tell me. The banner looks too dark on YT because it's .jpg and that sucks :(

#4 I don't usually buy clothes. I mean, I cannot complain at all about the amount of clothing that I own, but it's not such a huge amount of clothes... And we have to take into account that I revamp my clothes and keeps on wearing the same thing until it's completely worn-out. But I happened to see those incredibly pretty boots and I can't help but buy them. But look at them guys, they're the most beautiful pair of boots I've ever seen in my life:

Aaaand that's all. I'm done! See you soon <3


Wednesday, February 18, 2015

DIY Block Letters + (ir)relevant Updates!

Heeeeello, I know it seems crazy, but it's me! Yess, here, again. Back.


Sooo, I've been working on my college dues, as usual, and in the meantime I got to upload two more videos: one about hairstyles, about a week ago, and one today. Here you have the hairstyles one. It's a collab with my Youtube friend Barati Kesamang (Pweety Daily) and she's extremely sweet, so you should subscribe to her as well!


About today's video... I got all those cereal boxes because deep down of me I knew I would regret throwing them away because someday I'd  need them. Well, that day came last week, when I decided that my room needed some trendy, cute, tumblr-looking block letters. They are not the most expensive thing if you buy them in store, but making them I had them for (almost) free. Plus, I'm totally into recycling, so... it was like killing two birds with only one stone! Here it is the final product:


As you can see for my face in the pic, I'm pretty happy and proud with how everything turned out. I went crazy on weheartit.com looking for floral images that match the shades I wanted for my room, printed them out, made the letters and... boom! New wall art, completely DIY. The font that I used for my letters is Elkwood, and I downloaded it from dafont.com, where I get all my fonts indeed.

As I say in the video (which you'll find at the end of this entry), I tried to create an ombrè effect. That's the reason I painted the E in the middle, instead of folding it with paper: it is the 'bridge' between red and blue.

What else?? Hmmm... My friend Clara, who designed the doll of my header, taught me how to draw hairstyles using Photoshop. It's awesome that I get to do that, 'cause I'm the most pathetic person in the world when it comes to drawing. But I decided to give it a try and here you have the outcome... I'm planning on making my blog design more personal (most of the images in it are taken for the handy-dandy Google), so I guess I've been doing some more PS drawings in the near future.

Oh, and I got a new Animators' Collection baby! My boyfriend gave me Merida, which I didn't particularly love when I started collecting Animators' dolls, but I think her dress is one of the cutest in the collection. Whatsmore, her hair is amazing. It's super soft and it looks really good. That came as a surprise to me: usually the ones with curly hair have frizzy hair :( Anyway, I'm dying for having the time to make her an outfit! You can bet I'll post it here when it happens :)


And last but not least, I got to say that I gave a makeover to a tools' storage box. I think these devices are really useful for storaging DIY supplies as well, but I have an obsession with pastel colors and before buying something I make sure it's pastel or at least I can make it pastel. So here are some before and after pictures: 


I still have some gasps to fill, but I'll sure find more DIY supplies to put in those in the very near future! 

Well, that was everything I came to say, I think. Don't forget to check out my DIY Block Letters' video: 


Oh, just one more thing! We hit 500 subbies on YouTube. I'm really happy and thankful for that. Seriously, thank you so much for everything!


Wednesday, January 28, 2015

5 DIY Valentine's Day Projects [Video Tutorial is at the end of the post as always]

Heeeello everyone!


Sooo, long story short [I'm sorry, I tried but I couldn't make it short], I finished with my finals last Friday and I was literally dead, like phisical but mostly mental dead.When I finally get to put myself together it was Sunday morning and I spent the whole day filming (until 5 PM, then the sun goes down and it forced me to stop cos ain’t nobody got money for studio lights) and creating titles and pop up images with Photoshop. On Monday morning I ended up with the filming, went to class, came back home and I spent… let’s say, 6 hours creating more titles and more pop up with Photoshop and making the intro of the video with Adobe Premiere Pro. I’d been doing some research and I got to learn a couple of effects and so on, so I head to bed with just one minute of the video edited but having learned so much.

The following day aka Tuesday I woke up super early to edit some more while having breakfast. Then I got ready in a rush and went to class. Same story, came back home and editing until 6 PM, when I finally gets to export the video. This process takes AGES in my computer because it’s not meant for audiovisual purposes and it’s not nearly prepared. In fact, I have to do all my editing without watching what I’m doing, just guessing it, because my PC can barely cope with the videos of my Canon 1200D.

Whateeever, it's finally uploaded!


I’m sooooo in love with it. I feel bad for not having it uploaded by Sunday, but I think it was worth the way. Nobody is waiting impatiently for my videos anyway, but I take my YouTube channel as a job and for me it’s extremely hard not to be able of meeting my self-imposed deadlines. Anyway, I got to say I’m really proud of this one, maybe the content is not the best I’ve ever upload but the editing definitely is.

I happened to discover how to change the settings of the video to make colors brighter, image sharpened and video saturation higher and I think it changes everything, it all looks more colorful, bright and more appealing to the eye.


I also learned how to make the kaleidoscope effect and I’m absolutely in love. In fact, the header of this entry is a screenshot.

And I’m really excited to finally know how to make images move and fade in or out. It took me ages to find a tutorial about that, so thank you so much to the person who made it. Here you have it, in case anyone is interested.

IF YOU ARE NOT INTERESTED IN MY LIFE AT ALL, SAVE 5 MINUTES OF YOUR LIFE AND COME DIRECTLY HERE.


About the video… you have 5 DIY projects related to Valentine’s day. Here you have pic of each one of them:


I’m particularly in love with the jar and the heart pillow. I think they’re two of the most adorable things I’ve ever created.


What I particularly love about these is that they can be used all year around, because they’re girly and love-related but on the other side they’re just floral or pink stuff.

They’re also kind of transition for my spring decoration, that it’s about to come! I got one moe video related to Valentine’s day (kinda) and then I already have three regarding spring; not only about décor but also about DIY jewelry and accessories. I’m also thinking about doing my fitness routine, now that Summer is closer (just 5 months away, SO CLOSE, haha).


And I’m going to shut up because if I don’t go now I can be writing until next year. See you next week!!


Sunday, January 18, 2015

3 DIY Cat Ears Headbands ♡ (Ariana Grande Inspired!) | Cute Hair Accessories

Heeeello! Here I am with a fresh, brand-new upload that I want to share with you!

I've been loving Ariana's style lately, like I would steal her whole closet if I got the chance. I know, it may sound creepy, but it is completely true. That's probably the reason why I've been wanting all those shopgracieusa's oversized sweaters and t-shirt dresses. I spent all my money in craft supplies anyway, so...

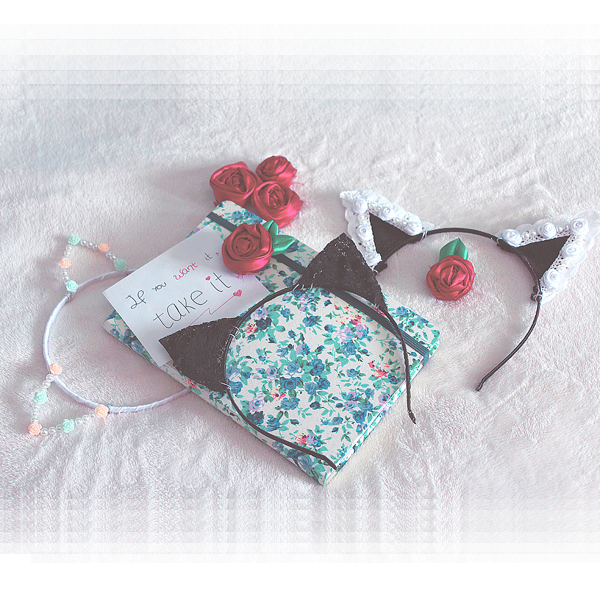
Well, that intro lead me to what I came here to say. My last video is about cat ears headbands, which you probably know by now. This is basically what I did:

Now I'm going to tell you a little about each one of them:

I happened to see these plastic roses in pastel colors in a craftstore and in that very moment I knew I got to do something with them. So yeah, cat ears. Loved how they turned out! They are really romantic and girly. 


These are a version of the ones Ariana's showed once in her IG. As I said in the video, I feel like they look more as fox ears rather than cat ears because they turned out too pointed, but well! They are even more unique and personal now! And foxes can be as cute as cats, so...

I am in love with those!! They are like the ones Ariana wears in Love Me Harder video and they are just lovely. They look classy yet super cute.

Sooo! Without further due, here you have the video in case you want to learn the how to: 

That was all for today. This week is my finals' week (yaaaay, so excited!) buuut I'll try to have my DIY Valentine's Day Projects video uploaded by Sunday, as usual. Don't forget to follow me on IG if you want to know when would it be up, because I tell everything about my uploads there. And don't forget to subscribe to my channel if you want to find my videos in your subscription box :) 
Loads of love for y'all!! Xoxo ❤